55 HT project Page 17
Hookin' Up....
fuel system, AC, PS, whatevahs....
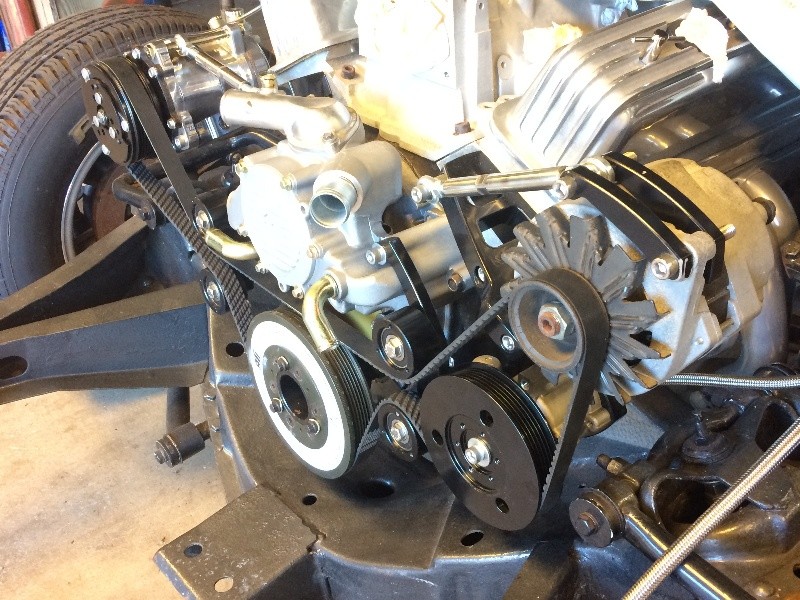
Lookin' at why the power steering pump is out of alignment,
about 1/8" too far forward....
It sits just below the alternator, and closer to the motor...
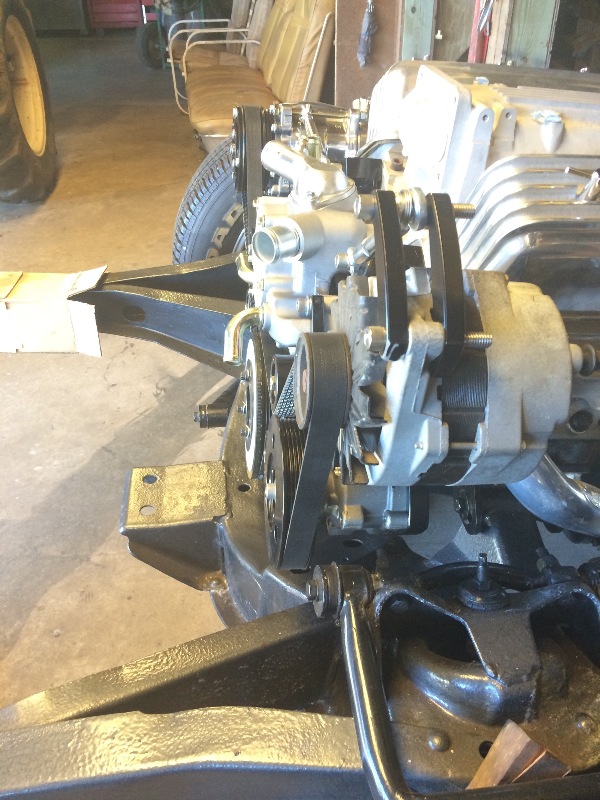
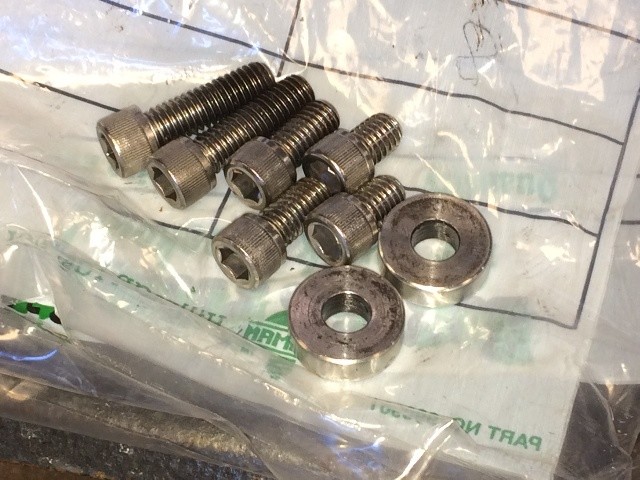
These spacers, 0.316" thick, came with the March Performance LT1
setup, but they are obviously too thick for this particular setup with
these particular heads and block. Everything else seems to fit just fine
now that I have the dampner problems sorted out....
I had a variety of allen head bolt length available to get
a good fit with the proper spacers....
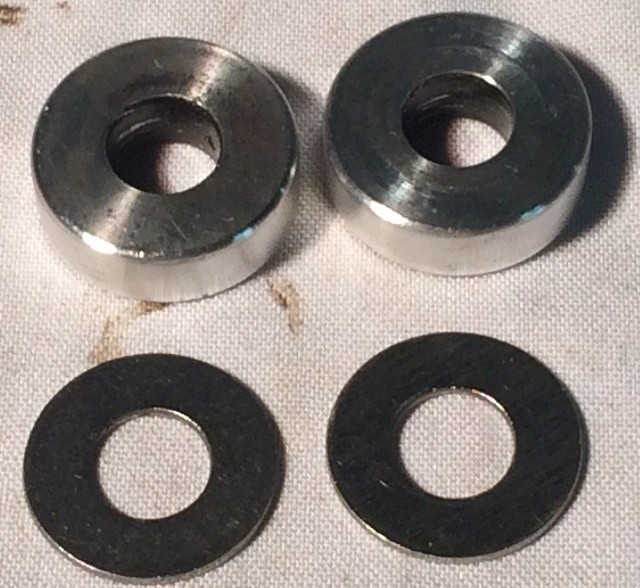
Picked up a dozen ss flat washers, these are 0.050" thick....
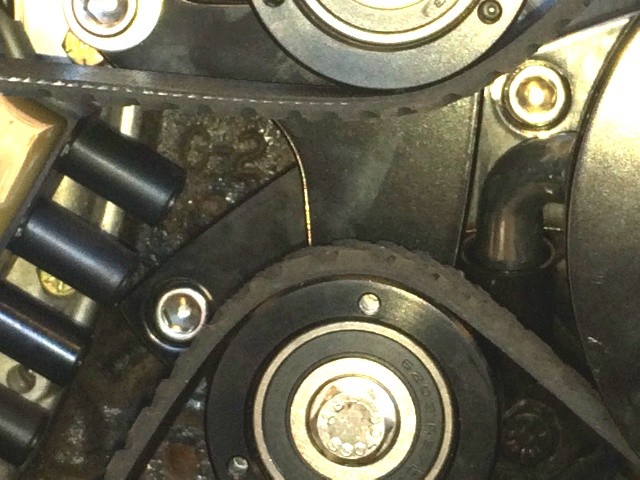
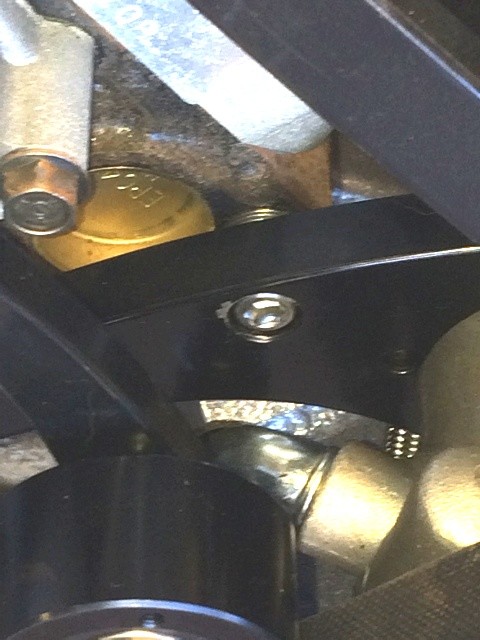
Behind the idler rollers and bracket, is the bracket for the PS pump,
that's where the spacers have to go to align the pump....
I started with two washers, 0.100" spacing, wasn't quite right,
added another washer to each location, 0.150" now....
It looks good, don't think I can get it much closer....
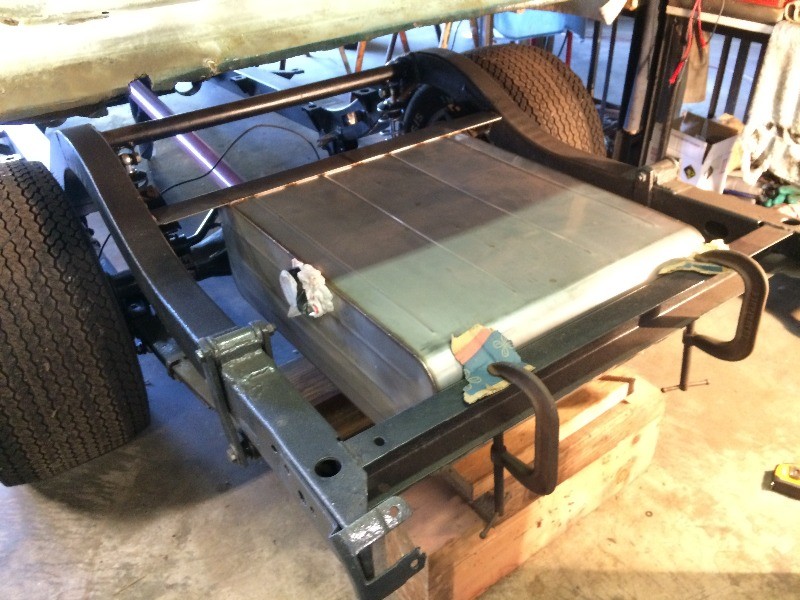
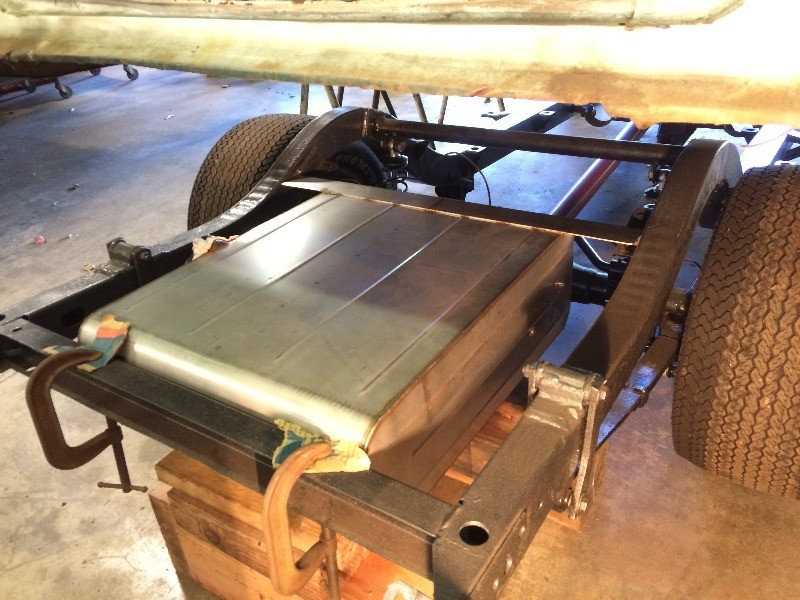
Moving to the rear end, time to hang the fuel tank
and start installing the fuel system....
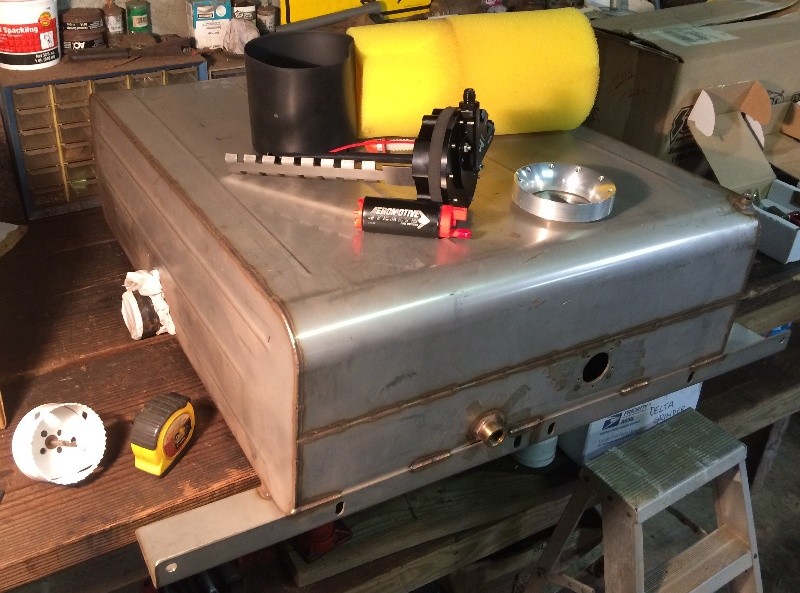
Dug out the fuel tank, pump and other parts I've had
in storage for some time now....
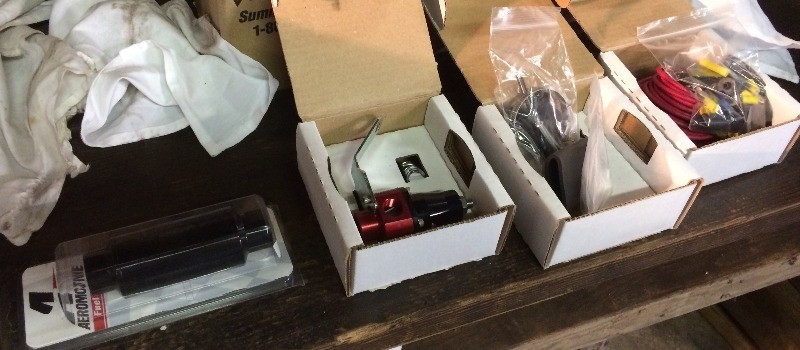
All Aeromotive parts for an intank efi style fuel system...
Finally figured out how it was supposed to fit....
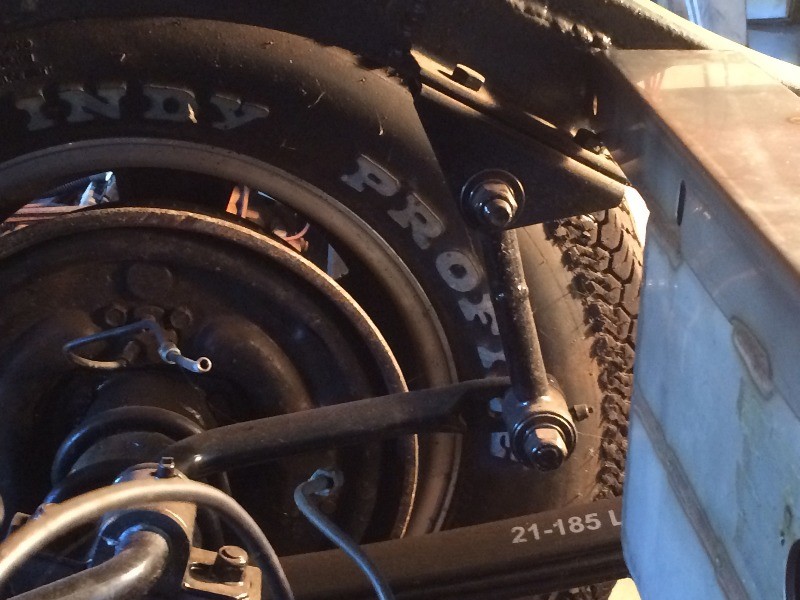
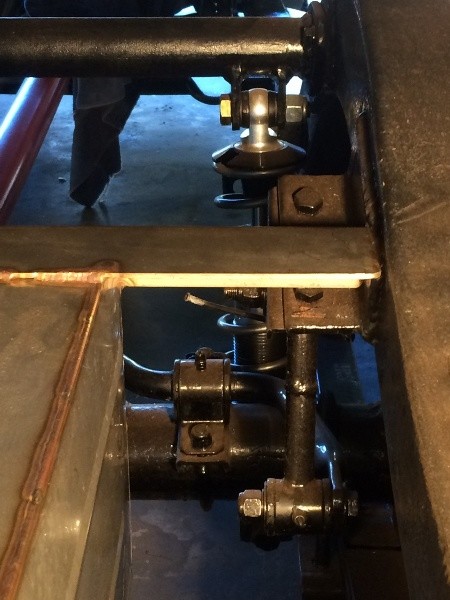
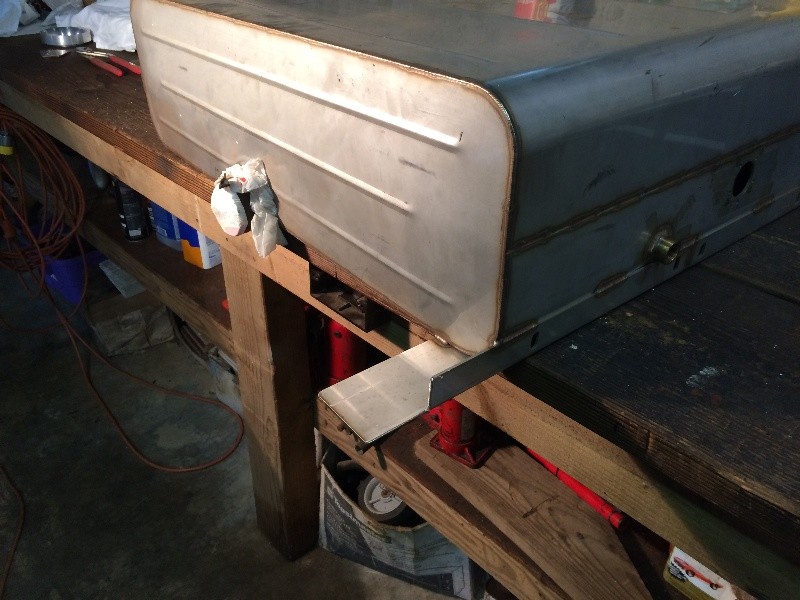
The front mount will fit in nicely with my sway bar frame mounts....
Some slight modification required here....
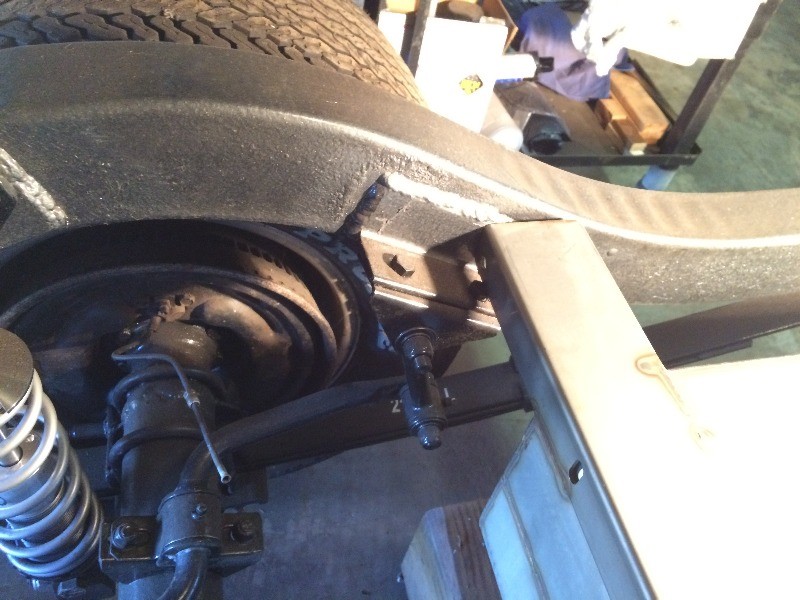
Another view....
This will be easy....
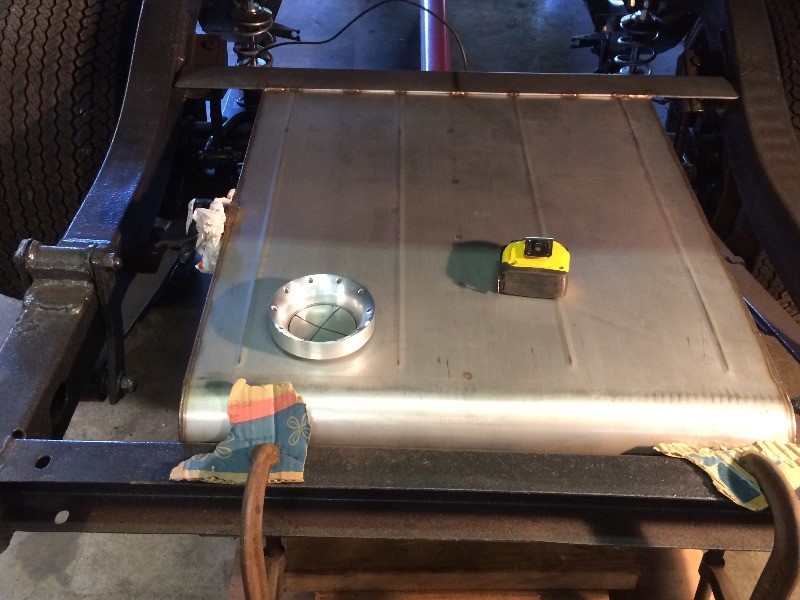
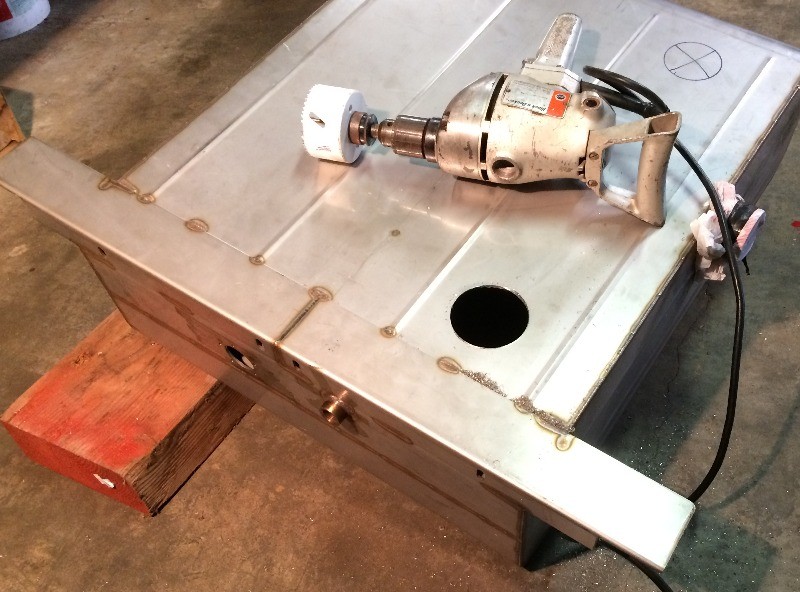
Gotta cut a 3-1/4" hole for the Aeromotive fuel pump and fuel well....
Not sure where I want to put it though, having it back here would give
me easy access to it, but the front of the tank is deeper than the rear,
so I suppose I should just mount it up front to get at the deepest part
of the fuel tank....
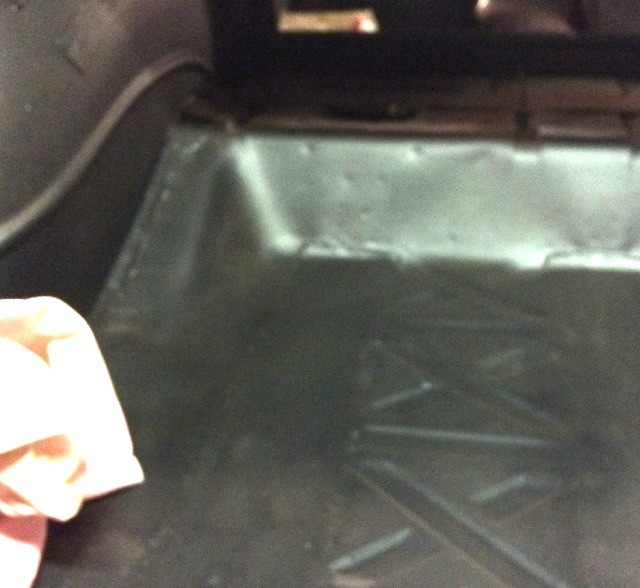
And will cut and fab a removable piece of the trunk floor over the fuel pump....
Back here is, again, the easiest access, need to think about this....
Meanwhile, I trimmed the front support angle to get a better fit on the sway bar frame supports....
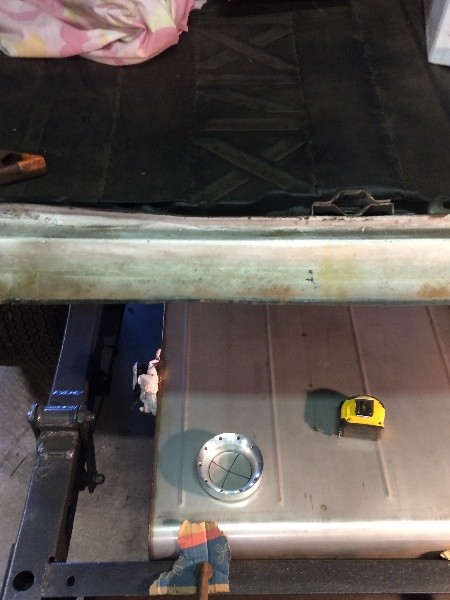
If I mount the fuel pump in the front of the tank, left side of the trunk floor
is the easiest to cut an access hole for future removal and maintenance....
So I went ahead and cut the required 3-1/4" hole in the front left part of the tank....
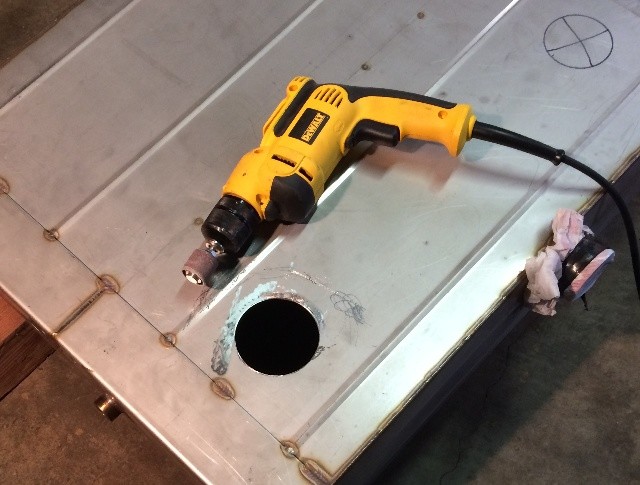
Cleaned up and smoothed the rough edges of the new hole....
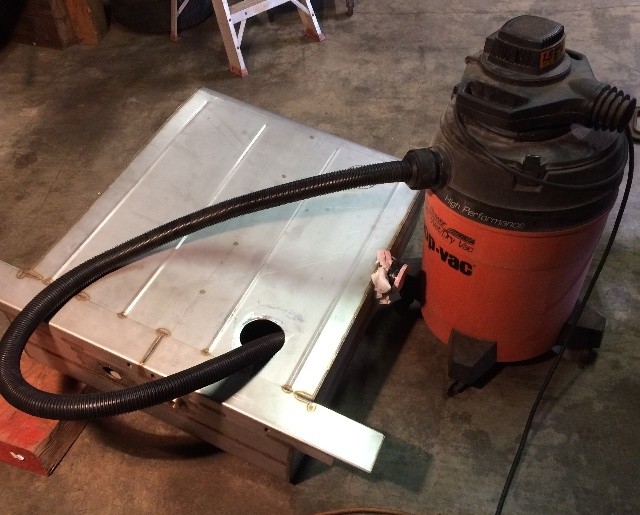
I propped the tank up so that corner was lowest to keep the mess
mostly located right under the hole, and it vacuumed out nicely....
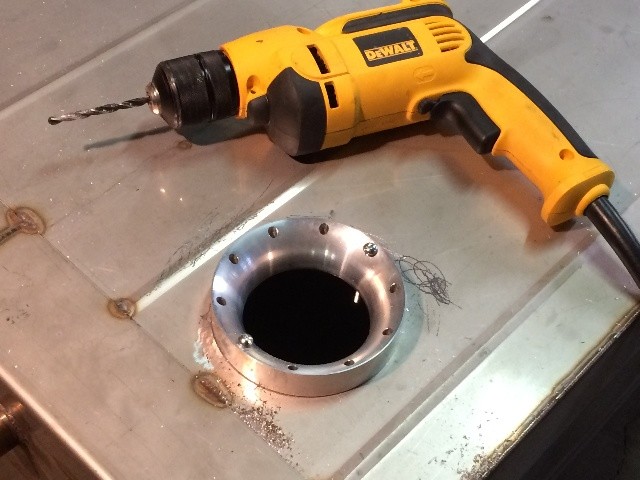
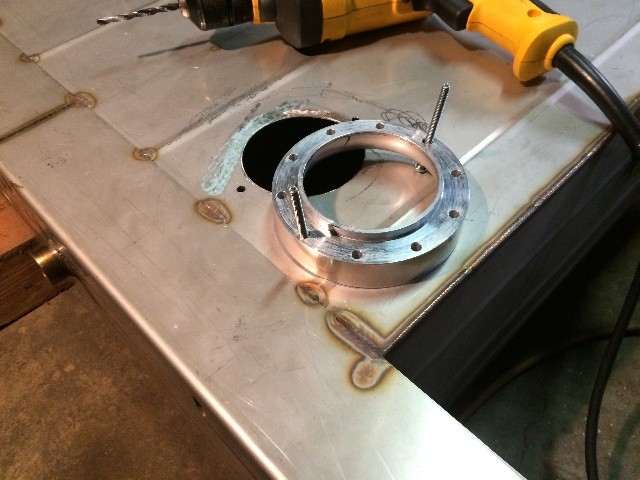
Aeromotive supplied a jig to drill the holes for the new fuel pump....
The idea was to drill two holes opposite each other,
then keep it located with these two screws while drilling the rest of the holes...
However, my drill bit went 'south' on the second hole, so I'm going to have
to resharpen this bit after each hole, or go buy a couple more bits....
Probably will end up doing both....
More Later....

