55 HT project Page 15
A Link Back to the '55 HT Home Page
Continue Fitting March Performance (MP) Parts
to my LT1 motor
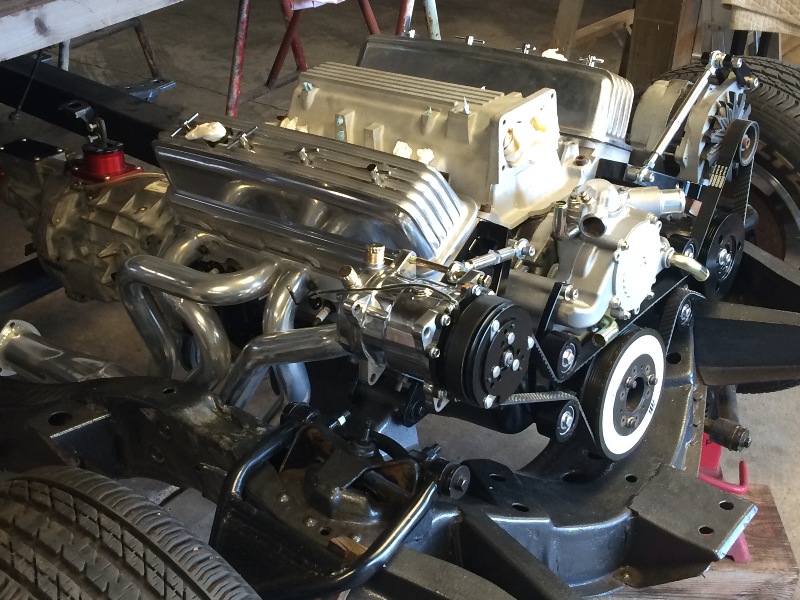
The Alternator mount is looking good with this setup:
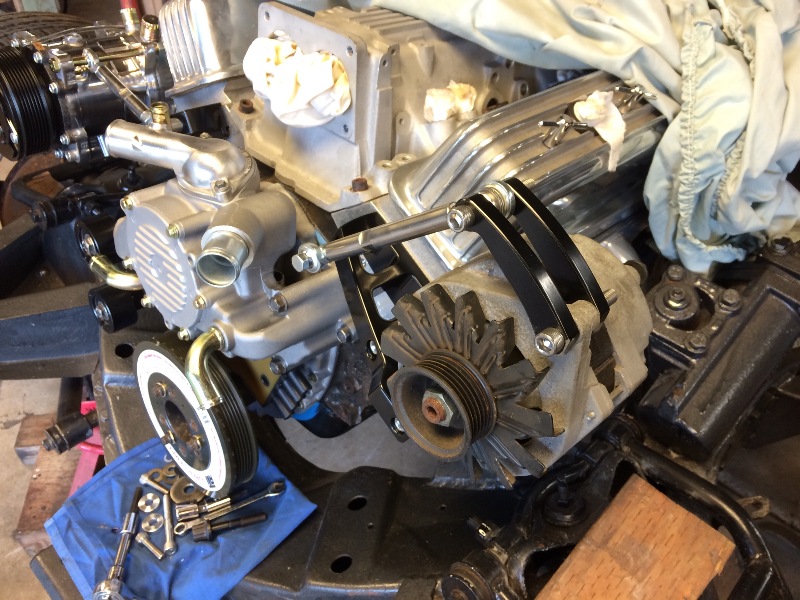
The front link had to be trimmed to clear the fan,
but there was nothing for it to lock into anyway...
Those links are locked in on the back side only,
But it seems to be a nice, solid setup...
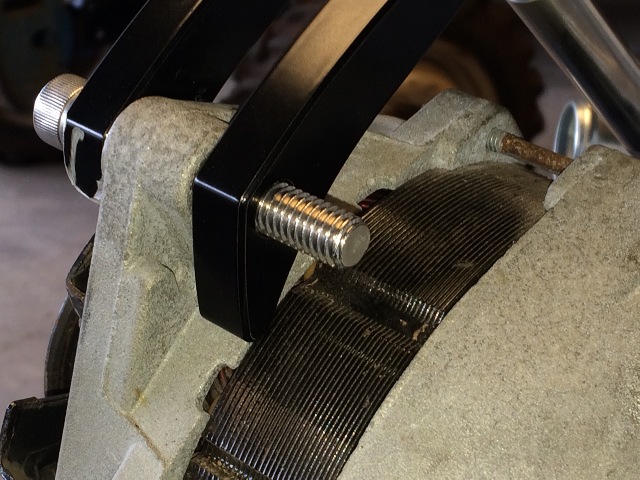
Worked on the alternator mount itself, as MP
had initially failed to send the required bolt and spacer
at the inner bracket mount to attach the adjustment rod,....
And they arrived in this last shipment with the missing
second set of idler rollers...
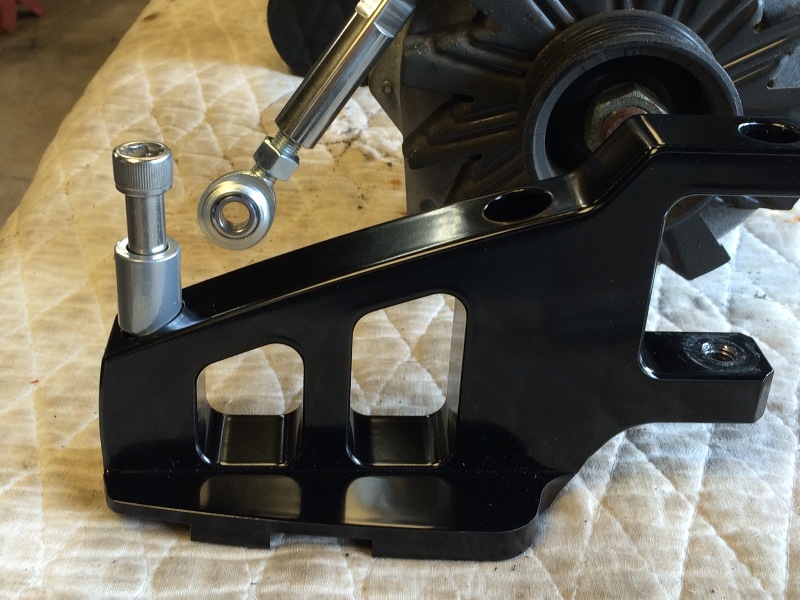
The spacer would not go into the recess on the bracket where it was supposed to go,
I suspected that the black powder coat that had gone into the recess
was causing the interference fit, so I carefully scraped out that stuff....
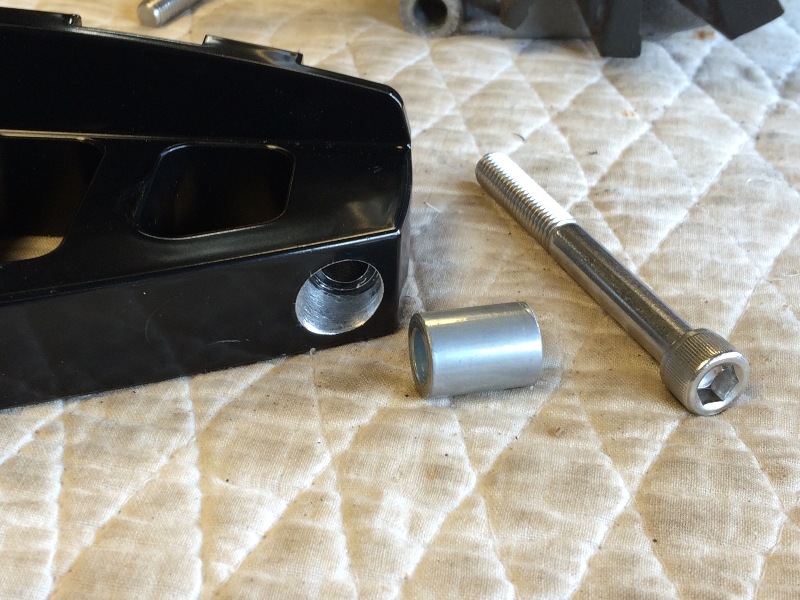
But that hole itself was undersized.
The bushing mike'd at an OD 0.018"
bigger than the hole,
Hmmmm.....
Pulled the bolt and bushing for the AC Compressor
adjustment rod, no problem, the bushing fits there,
so MP drilled that alternator bracket hole too small....
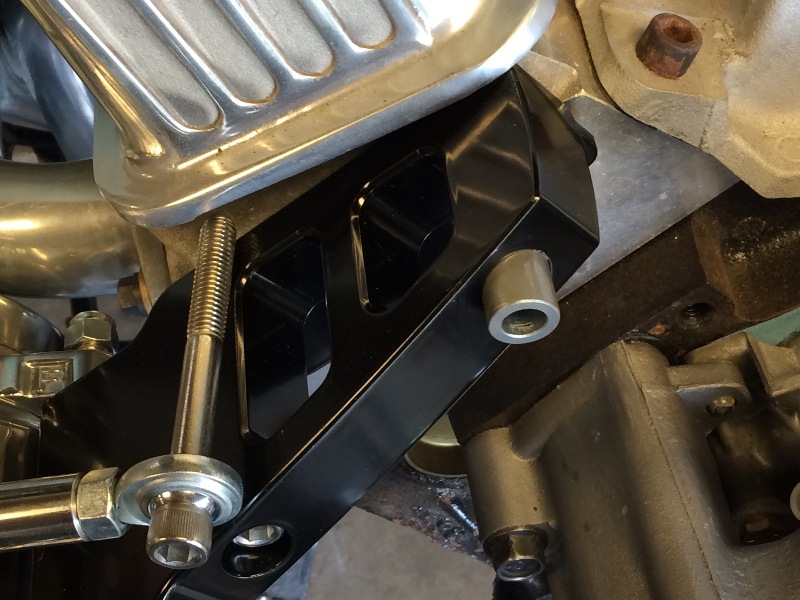
So I had to drill it to the correct size to get it to fit properly....
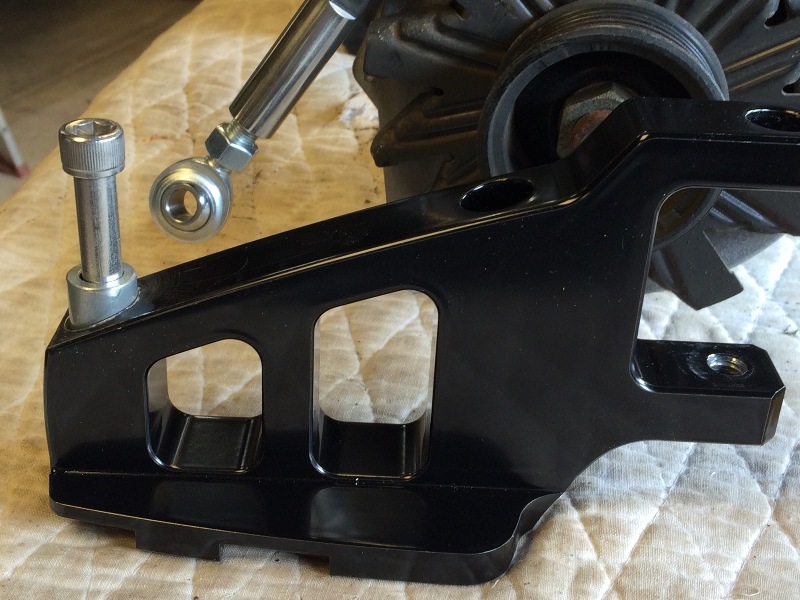
Ran a tap into the bracket mounting holes in the heads
to make sure they were clean, and trimmed a small amount
off of each bolt, as they were slightly too long,
no problem there, I'd rather the bolts were
slightly too long, than slightly too short....
I ran the bolts in with never-seeze, with these
stainless steel bolts, in these aluminum heads,
I always do it this way, never had a problem.
I have seen some rather extreme galling where
stainless bolts were used in aluminum threads
that destroyed the threads and required inserts
to correct the problem.
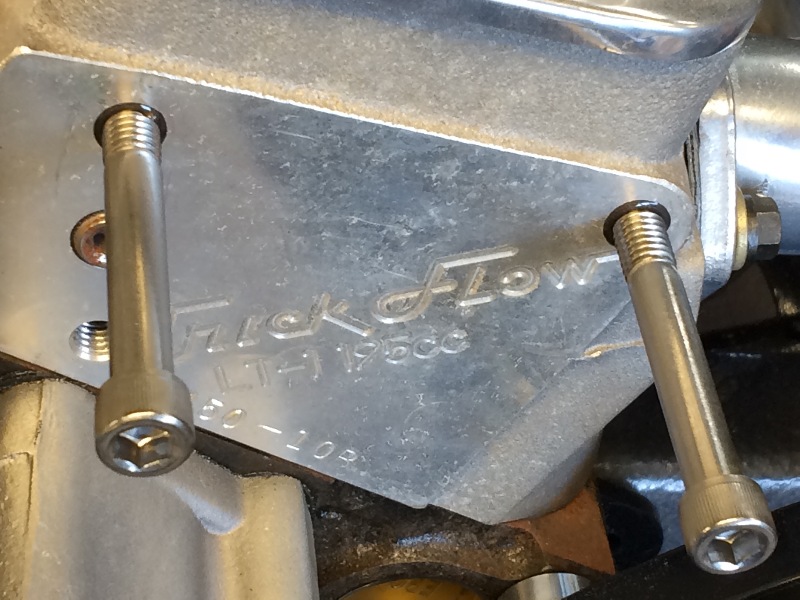
So now the alternator mount is completed...
I also installed the right side idler pulley setup,
As that also arrived with the other missing parts,
and put the belt on, just for fun....
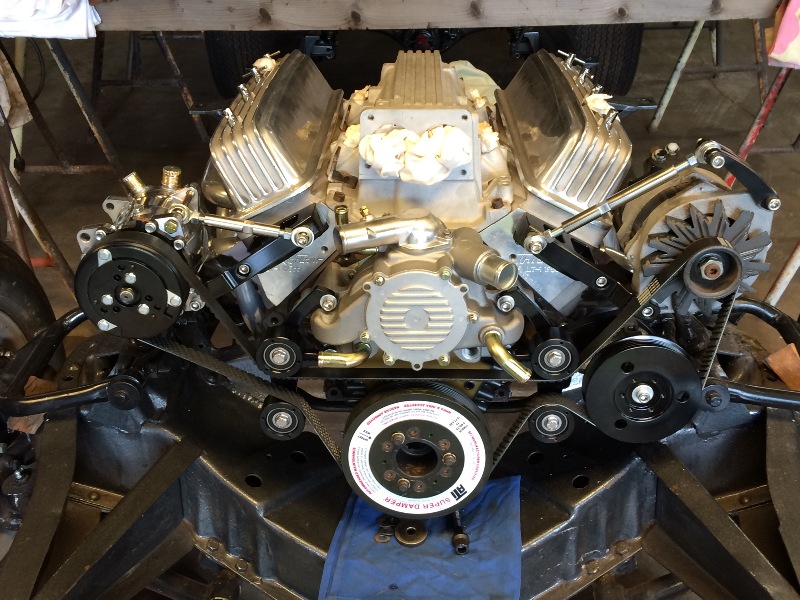
Also worked more on the power steering pump reorientation...
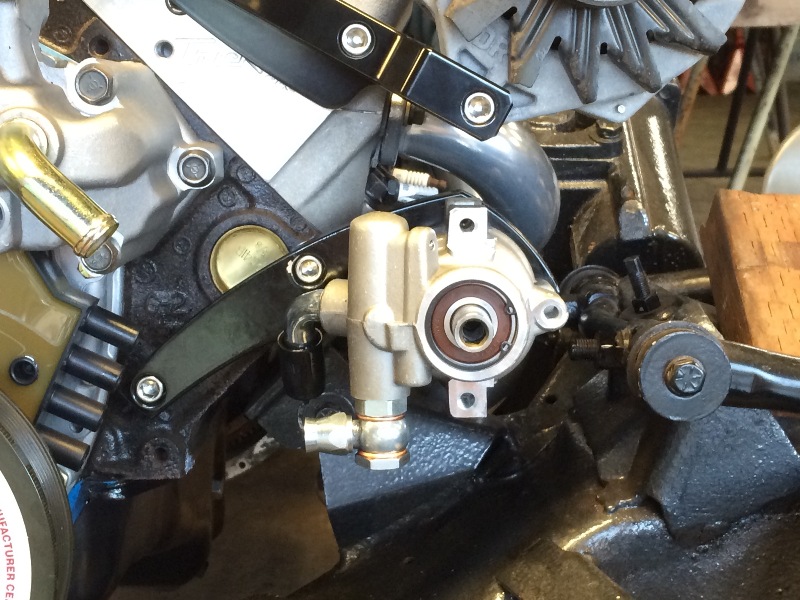
As shown above,
I'm going to use one of the original holes for the center mounting tab
On the PS pump, and drill two more holes to match the other two mounting tabs...
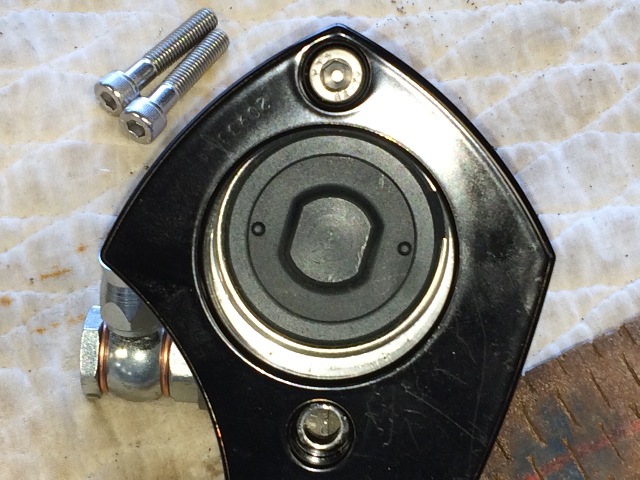
Using a transfer punch, I center punched the new holes' locations,
Then drilled an 1/8" pilot hole at each location,
Then drilled the final holes to match the new 8 mm mounting bolts
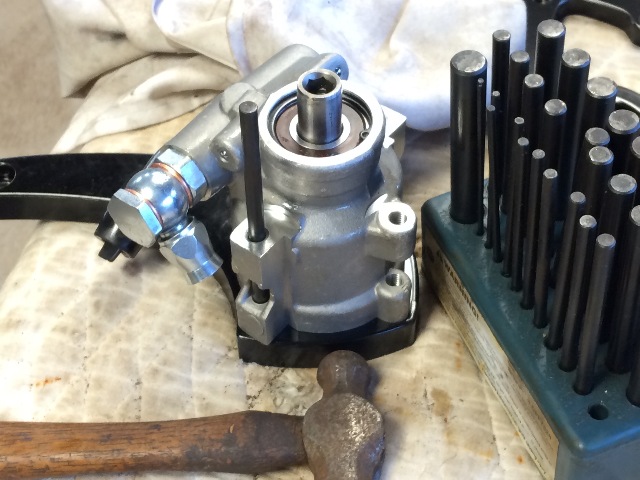
These transfer punches are one of the most valuable tools I own,
I find myself using them constantly....

Before mounting the PS pump back on the motor,
I checked the hose connections, the pressure hose "out"
is no problem,
But the feed hose "in" from the remote
reservoir has a clamp fitting that does not fit over
the barb on the PS pump elbow....
The hole in that fitting is too small....
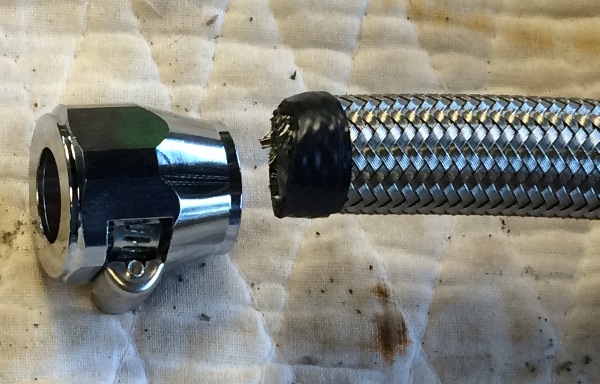
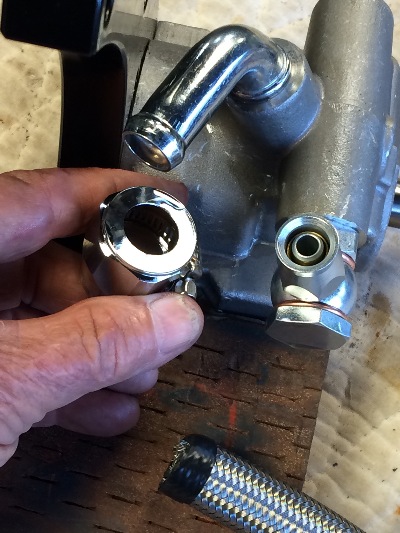
Drilled it out to fit, no problem now...
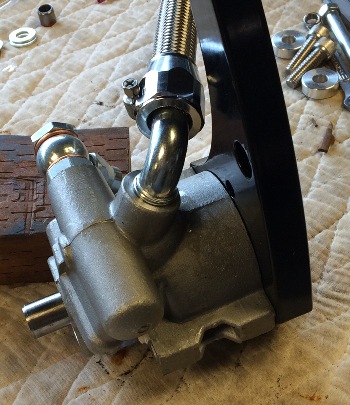
Put the pulley on the PS pump,
mounted everything up, and put the belt on...

As that ATI damper is still the Camaro LT1 style,
It is on there temporarily in a forward position to match the other pulleys.
When the new Corvette LT1 flanged hub arrives from ATI
I'll be able to finish this setup.
An easy way to get this new belt on was to loosen the right side
idler rollers, by removing the lower bolt, then it was easy to
install the belt, then push the idler rollers bracket into place
and reinstall that lower bolt.
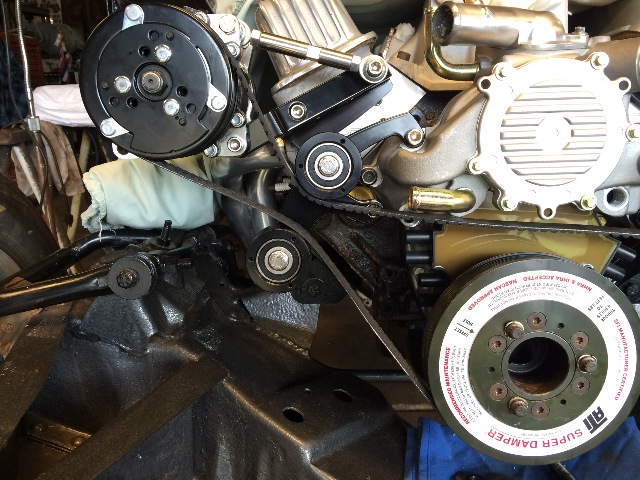
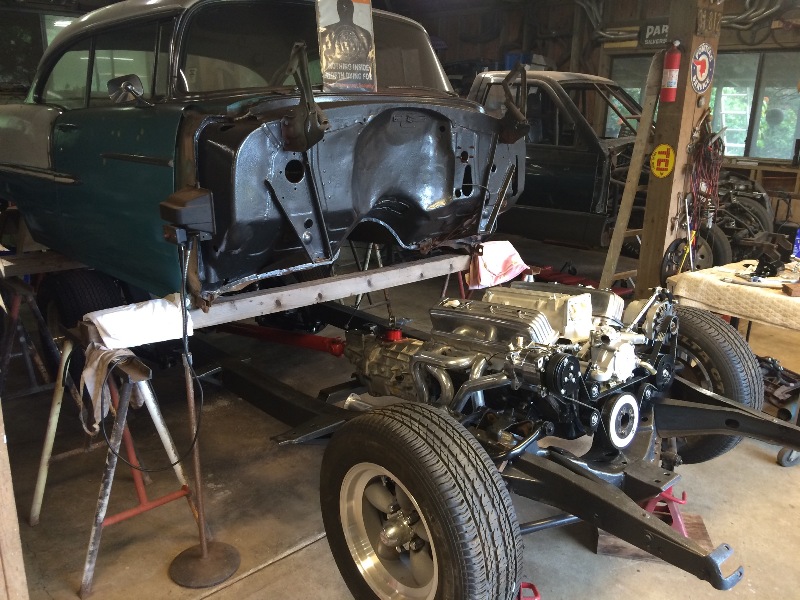
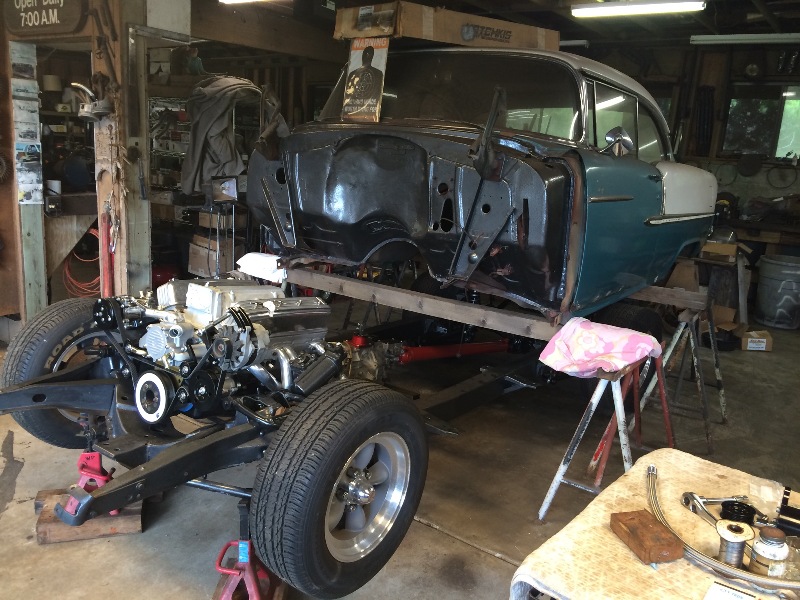
Just some shots of how it's shaping up...
Time to get back to work on that body....
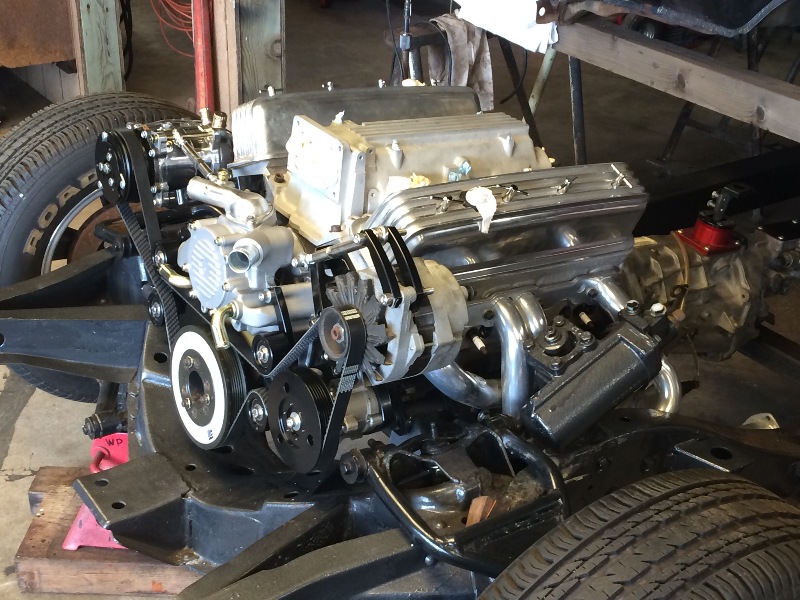
More later....
