55 HT Project Page 10
A Link Back to the '55 HT Home Page
Finishing up on that rear suspension work....
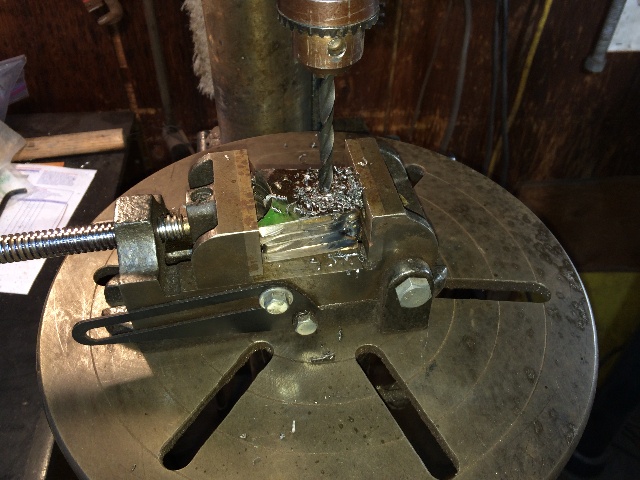
Still working on the rear shock mounts. After cutting out the four 1/4" "ears,
they were stacked together on the 2" pipe for alignment, then tacked together
so they could be align drilled for the 5/8" upper shock mount bolts....
Lookin' Good....
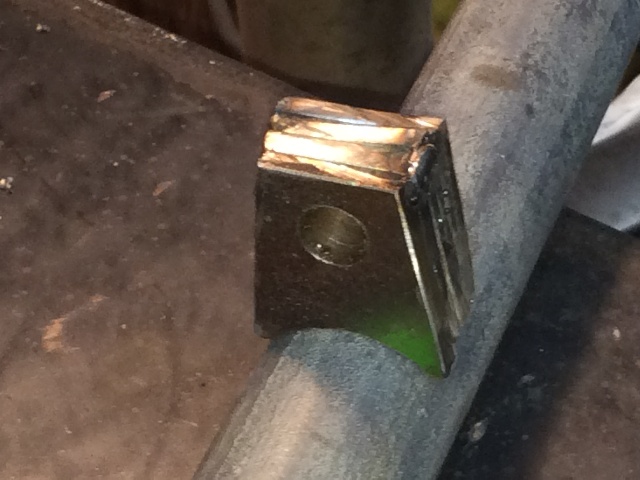
Now split those pieces apart, do some cleanup on the grinder, and check the fit....
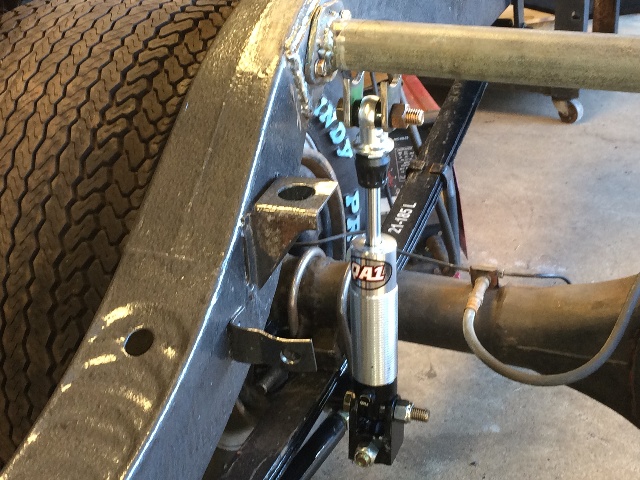
Going for a straight up and down position, and close to the axle, there is room for a coil
spring on this if needed....
100 pound per inch springs will be tried, with 150's on hand if needed....
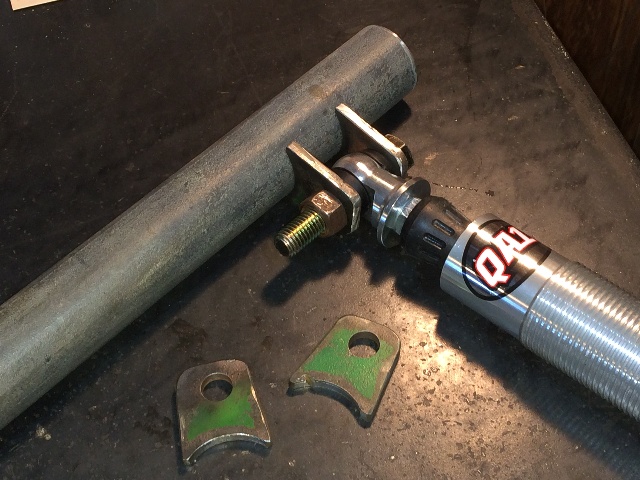
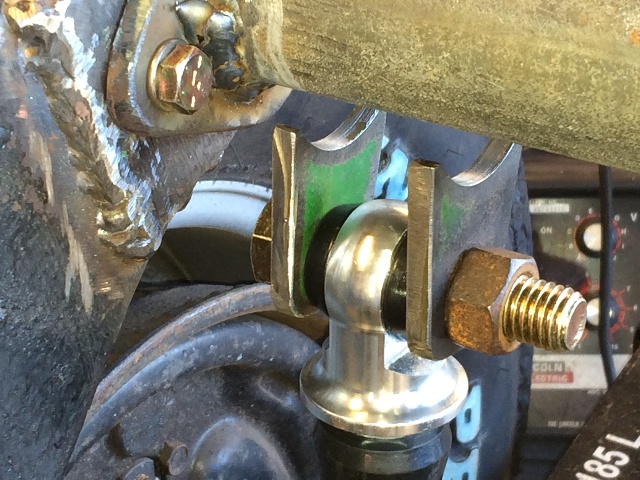
Some close ups, just need to tack it in position, remove the bar, and finish up the welding....
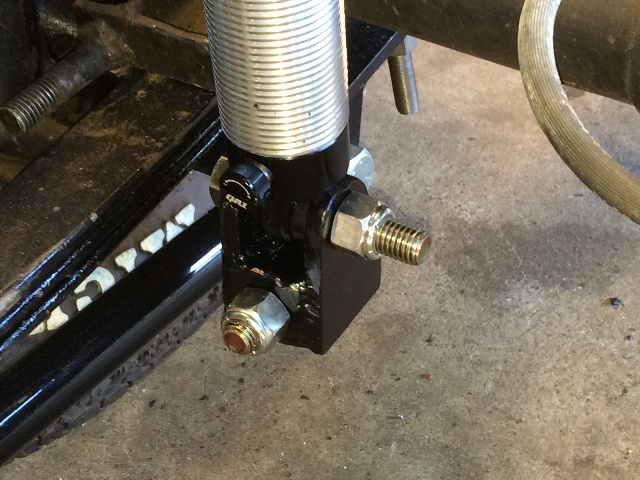
These nuts are just for the setup, nylock nuts will be used in the final assembly....
And the bolts will be shortened, removing the excess thread beyond the nylock nuts....
All welded up and bolted in place....
After doing the panhard bar, it will all get pulled apart for paint....
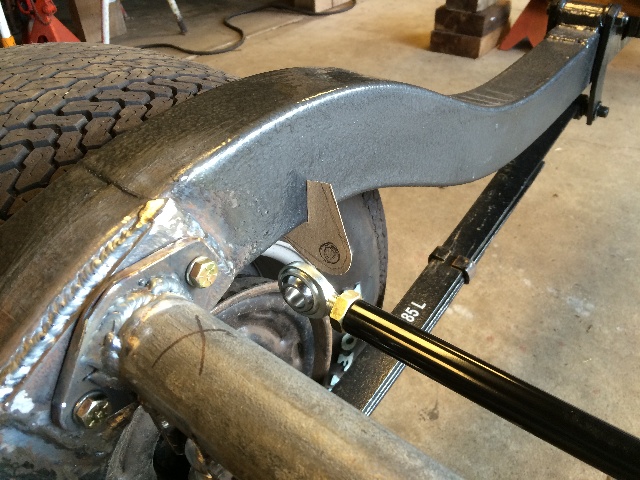
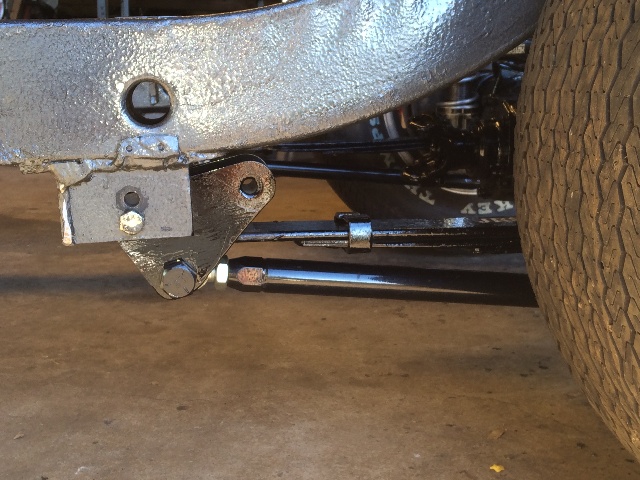
Now I need to fab some mounts, frame on the right side,
to the axle on the left side, for this panhard bar....
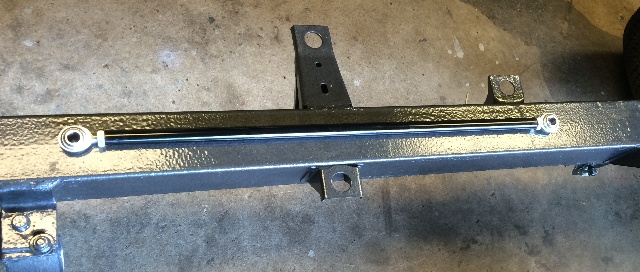
It's a nice solid 34" long unit I got from Speedway Motors....
There was some concern about binding, between the arc of the panhard bar,
and the vertical movement of the leaf springs. This bar is 34" long, and will be
mounted in a horizontal position parallel to the axle. The axle will have about 4"
of movement, and the bar will be mounted horizontally in the middle of that movement.
With 2" of movement up or down from horizontal. The arc will provide less than a 1/16"
of side to side movement at the axle mount. The leaf springs have enough "flex" in them at the
poly bushings at each end, meaning there will not be any binding in the triangulation between
the leaf springs and the axle end of the panhard bar.
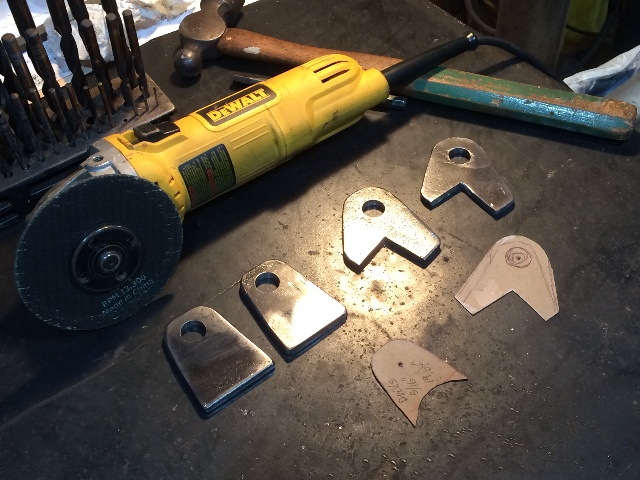
Cardboard template for the 1/4" steel "ears" I want to cut and weld
on the right side frame just above the axle....
For 1/4" plate I like to use my 4-1/2" steel cutting disk, but I need to be careful, they do
have a tendency to catch on the metal and break fairly easily if I'm not careful with them....
I'm going to hold off on this panhard bar install, and I'm considering welding in the mounts for it before I'm done,
and at some point I'll give it a try just to see how it all works. But I've decided to put a rear sway bar
in first, and see how well that works. If I see sidewall rubbing on the frame with the sway bar,
then I can bolt in the panhard bar and evaluate that, but I think I want the mounts for that panhard bar
in place before I put the frame back under the body....
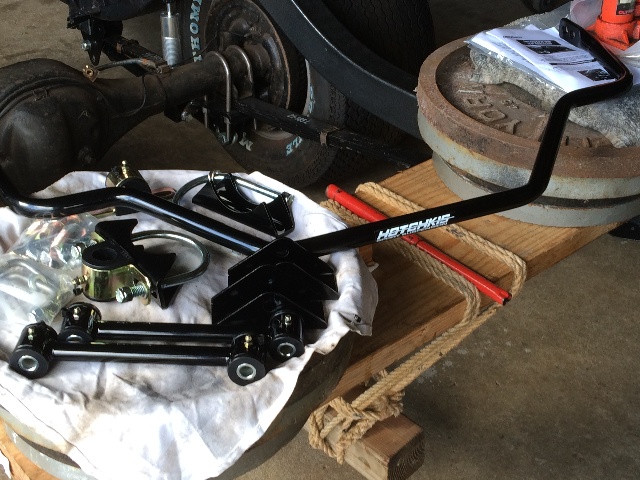
Now for the sway bar install....
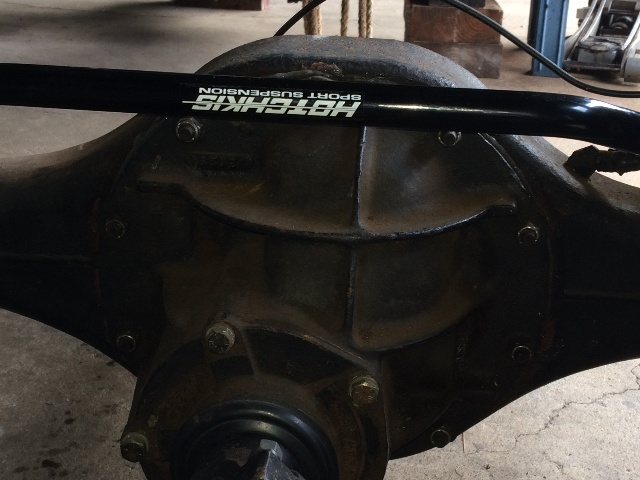
I've ordered the rear sway bar setup for my '55 from Hotchkis, it looks like a good setup.
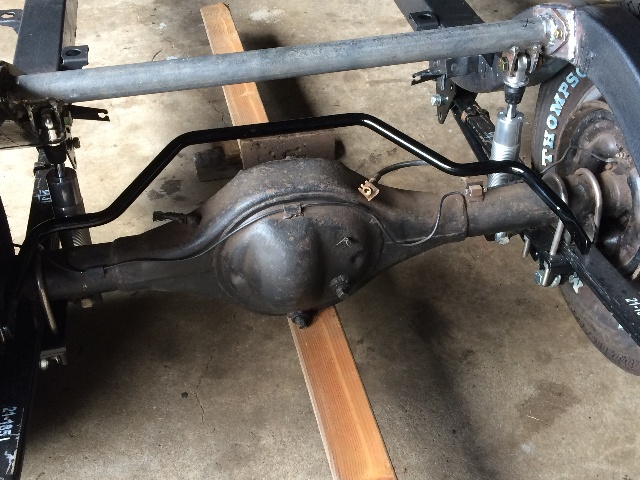
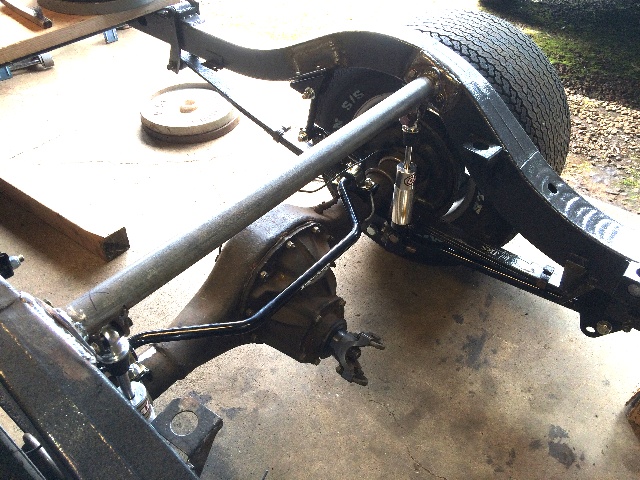
Hotchkis recommends this bar be mounted under the axle with the links to the frame in front
of the axle, but my shock/coil-over setup, and my leaf springs under the frame rails,
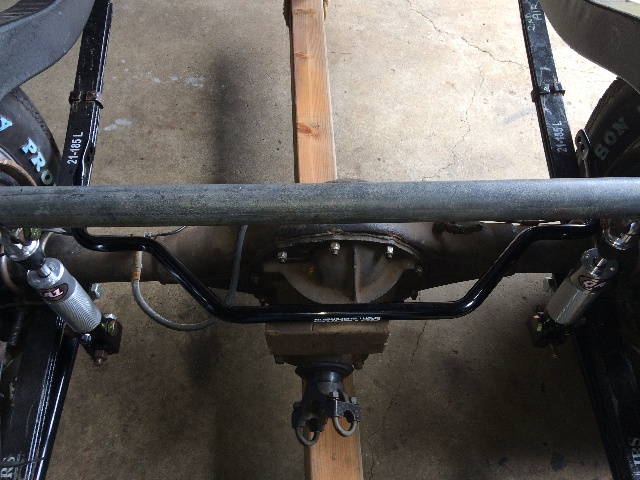
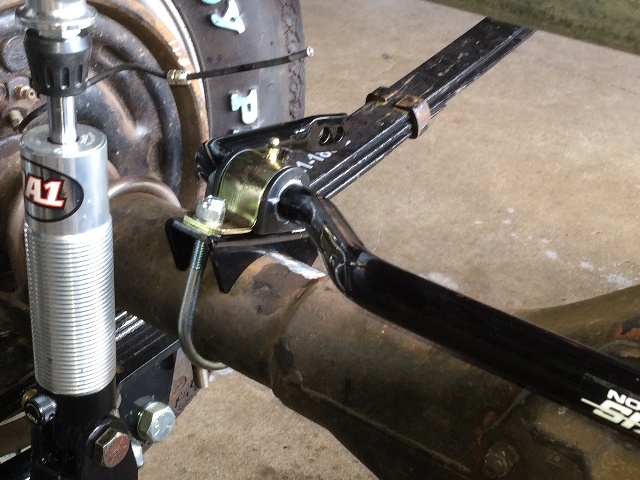
prevent this position, so I tried a few others, and the best one is with the bar on top of the axle
with the links to the frame behind the axle....
I'll need to install this setup for clearance between the front of the sway bar and the third member
at all times....
With the bar "upside down" the ends of the bar back to the links are bent upwards slightly,
a better setup than having those ends bent down slightly....
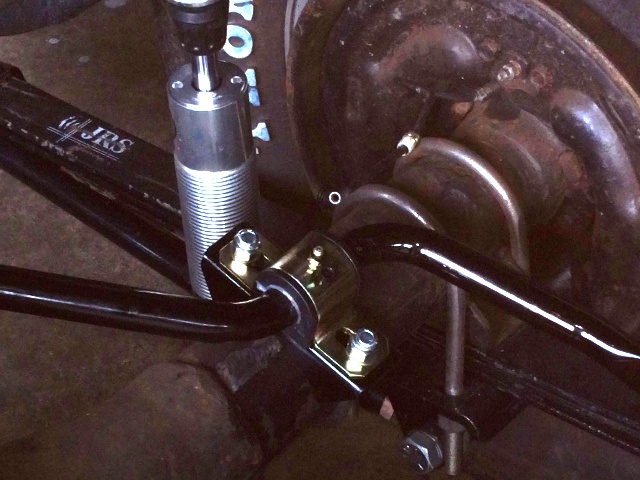
The sway bar mounts on the axle are pivoted slightly to the rear to give clearance
for the coil-overs, if I need to use them. The sway bar will still function just fine
in this position....
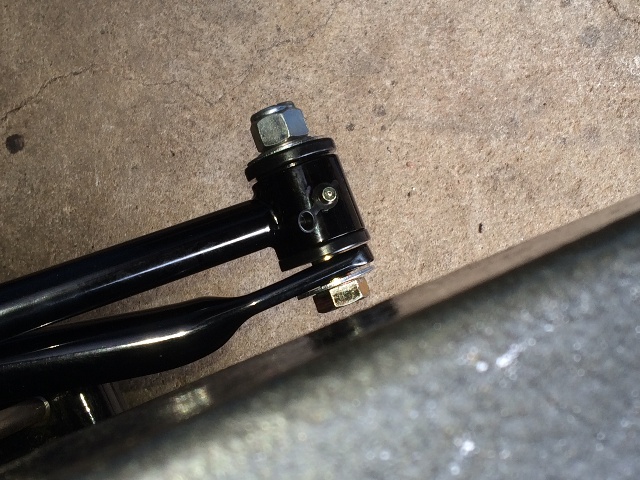
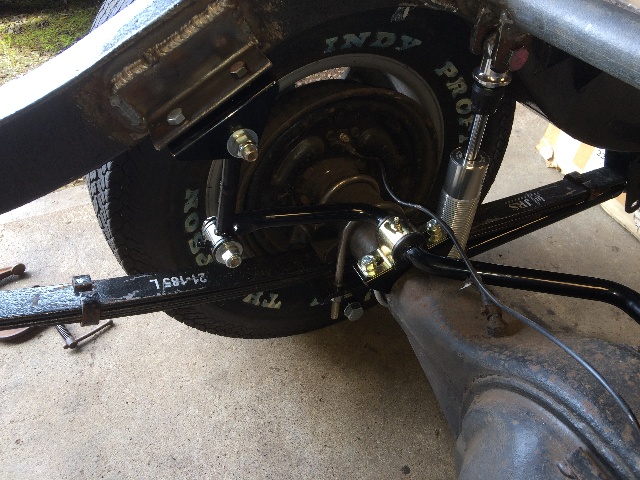
By putting the links at the bar ends on the inside of the bar ends, I get adequate clearances to
the leaf springs and the frame. Now to fab some angle iron brackets to weld onto the frame....
This is where I have to make sure I mount this in a position where the front of the sway bar
will never come in contact with the rear axle third member housing....
The links were too long at 8", so I shortened them to 5-1/2", which looks just about right....
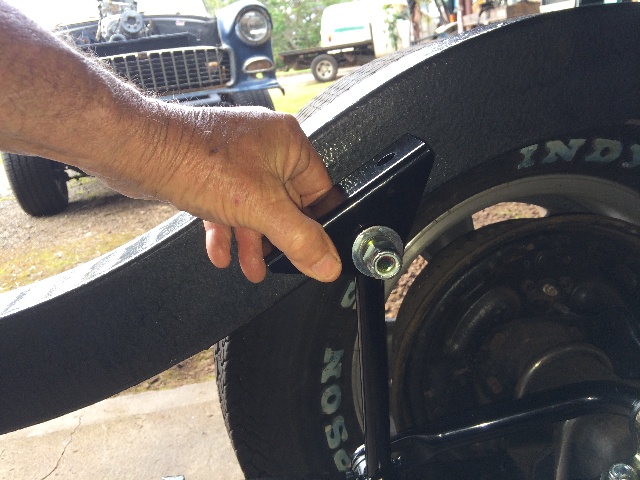
Yeah, that's my '55 Chevy gasser (blown Olds 425) peeking at me in this pix....
Found a solid piece of angle iron in my scrap pile for the link mounts on the frame....
I pulled the weights off of the rear of the frame and let the shocks extend to their full length,
which rotated the rear of the sway bar up, and the front down, then I positioned the mounts
such that the front of the sway bar was 1/4" or so above the third member, and welded the
brackets in place. Later, bouncing up and down on the rear of the frame, it all looks very good !
Ahhh, time to sit down, and enjoy the view with a cold beer....
.....
.....
.....
Workin' on some other projects, but got back to this one....
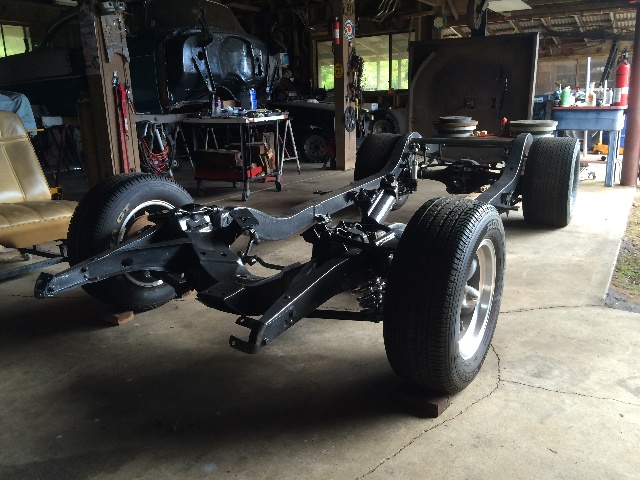
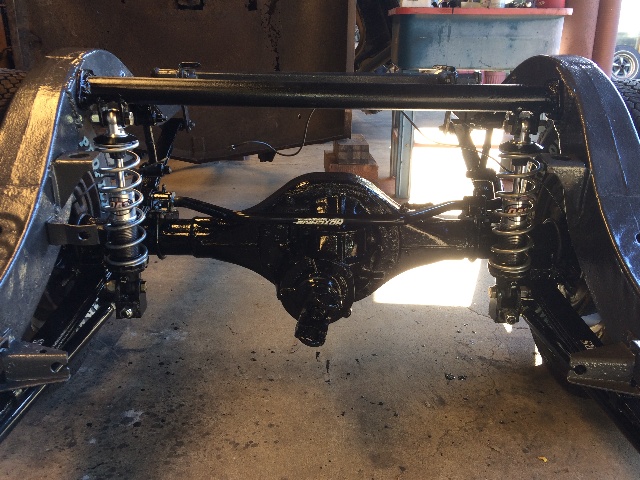
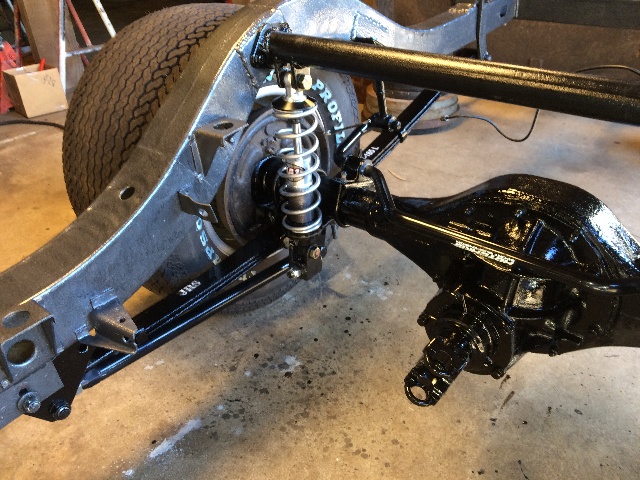
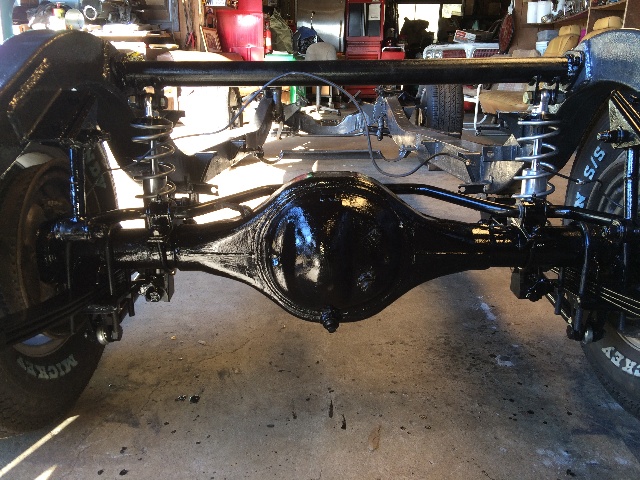
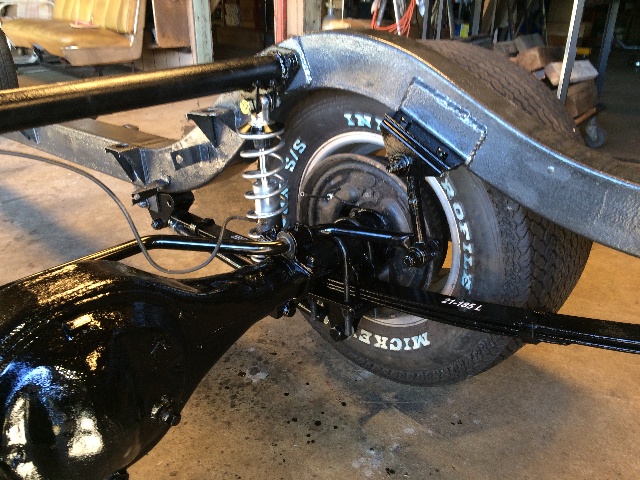
Pulled all the rear end suspension parts apart, painted, and put back....
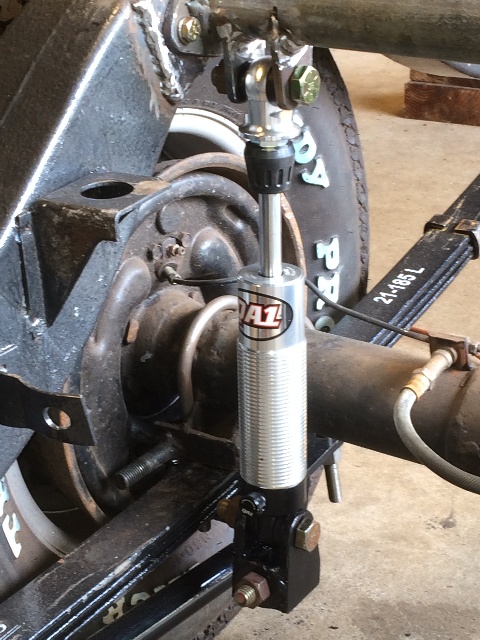
The 100 lb coils. Copper coat (an antiseize compound) on the shock body
and the little bearing plates under the adjuster....
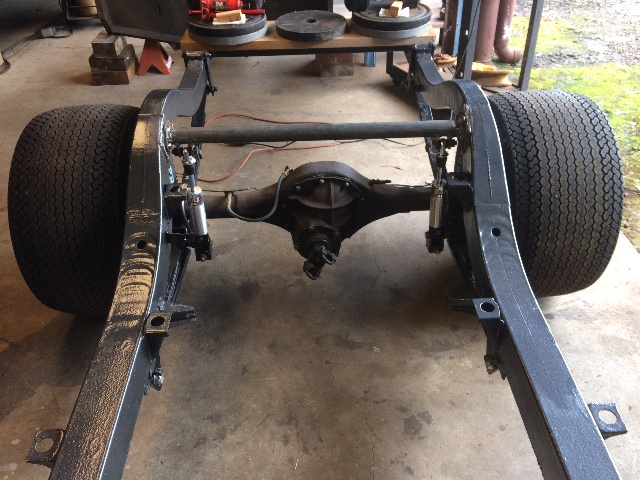
View from the rear, as good as a beautiful woman.....
Plenty of room for the exhaust....
Trimmed the front rotator of the CalTraks for good ground clearance....


